Top 10 Tips for Cutting Curly Hair With Scissors
Ten technique tips for cutting curly hair with scissors: read the curl pattern, plan for shrinkage, cut dry, work curl by curl, remove weight on purpose.
By SalonScissors editorial team Updated
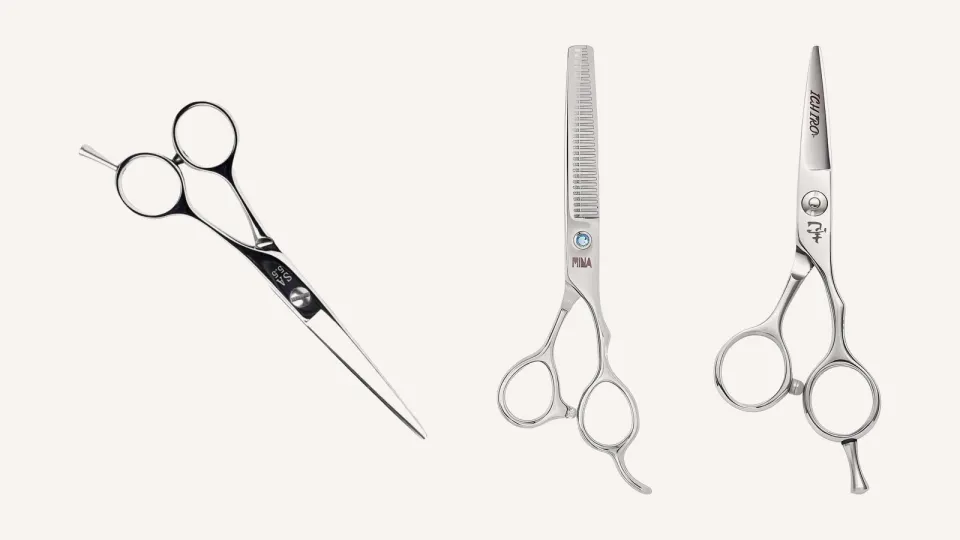
Curly hair rewards a slower cut: read each curl, allow for shrinkage and take weight out only where the shape needs it. These ten tips are technique principles, so use them alongside your educator’s method.
How we chose: Ten principles from our plan-and-check guide and common teaching practice for curl work. Methods vary between educators and specialists. We haven’t run cutting tests. Reviewed 4 November 2026.
1. Read the curl pattern, area by area
Straight, wavy, curly and coily can all sit on one head. The crown, the sides and the nape often differ, so look at each area before you plan a single cut. Do it dry, before you wet the hair, so you see what the client actually wears.
2. Ask how they wear it
Ask whether they air-dry, diffuse, set or wear it stretched, and where the curl sits at its best. A photo is only a starting point, because a blow-dry or set curls in the picture isn’t always how they wear it. Agree where the shortest piece should land, using your fingers on their head. Our plan-and-check guide has the consultation questions.
3. Choose wet or dry on purpose
Dry shows you where each curl sits, so it’s the clearest way to cut curls. If you cut wet, leave extra length and check it dry before you finish. Either way, decide before you start, and tell the client which you’re doing and why.
4. Allow for shrinkage
Curls shrink as they dry, and tighter curls shrink more. A length that looks right on stretched, wet hair can sit much shorter once it springs back. There’s no fixed percentage that works for everyone, so check a curl in its natural state before you commit to a length.
5. Cut curl by curl
Work with small sections, and cut each curl or curl group in the shape it sits. Fine tips matter more than blade length here, because you’re placing each cut. A shorter pair around 5.0” to 5.5” is easier to place than a long one, as our scissors for each haircut explains.
6. Don’t cut stretched hair to a straight line
Pulling a curl straight and cutting across it fixes a length that won’t last. When it springs back, the line steps and the lengths vary. Hold the curl lightly, in its natural position, and cut to how it will sit.
7. Build the shape first, then refine
Set the outline, then check the shape from the front, the sides and the back. Round shapes, layers and lengths show up in the silhouette, and a gap is easier to see before you start on detail. If a section looks heavier than the rest, mark it and come back after the outline is done.
8. Keep your hand light with point cutting
Snipping into curl ends can soften a shape or release a heavy spot, but a deep cut can break a curl group. Work shallow and sparingly, and check dry after each pass. Our point cutting tips cover depth and spacing.
9. Take weight out on purpose
Don’t treat thinning as routine just because the hair looks dense. Removing weight can change how curls group and hold the perimeter, and placement matters as much as quantity. Take it from the exact spot where the shape needs it. Toothed tools can also over-soften curl ends, so go lightly. Skilled curl specialists use a range of methods, so follow the one your educator teaches.
10. Check it dry, then talk home care
Check the finish dry, in the style they wear, and look from every side. Take a little more only where the shape asks for it, then stop. Spend a minute on home care: how to dry it, what product to use and when to come back. Our layering tips cover the guide and cross-check habits that apply here too.
When it goes wrong: a quick fix table
| What you see | Likely cause | Try this |
|---|---|---|
| Curls spring shorter than expected | Cut stretched or wet without allowing for shrinkage | Check a curl dry, and leave extra length next time |
| The shape looks round or uneven | The silhouette wasn’t checked from every side | Look from the front, sides and back, and mark heavy spots |
| Curl groups look broken up | Deep point cutting or heavy thinning | Back off, and keep it shallow and sparing |
| The client isn’t happy at home | It wasn’t cut for how they wear it | Ask how they style it before the next cut |
Three questions to ask a curly client
- “How do you wear it day to day: air-dried, diffused or styled?”
- “Where do you want the shortest curl to sit?”
- “What have you disliked about past cuts?”
Their answers give you the plan, and they take a minute.
Four curly hair cutting mistakes
- Cutting everything to the same stretched length. The curls won’t agree with it when they dry.
- Skipping the consultation. How they wear it decides the plan.
- Thinning first. The outline comes first, and weight comes second.
- Never checking dry. Wet curls hide the final shape.
Common questions
Should curly hair be cut wet or dry?
Dry shows you where each curl sits. If you cut it wet, leave extra length and check it dry before you finish.
Is thinning always wrong on curly hair?
No, but don’t make it routine. Remove weight where the shape needs it, after the outline, and keep the touch light because it can change how curls group.
How much length will curls lose when they dry?
It varies from person to person, and tighter curls shrink more. Check a curl in its natural state, and leave extra length if you’re unsure.
Do I need special scissors for curly hair?
A cutter in good condition with tips you can see covers the technique. Pick a length you can place accurately, and check the edge before you start. Our dragging guide lists the checks.
Further reading
Our cutting techniques guide covers the moves, and the knowledge base lists more. Scissorpedia is a reference website on scissors, and Scissorpedia and SalonScissors are fellow members of the ShearAlliance.
Comparing scissors for your kit?
Tell us what you cut and which scissors you are comparing.
Useful next reading
Read all blog posts
Top 10 Layering Tips for Cleaner, More Even Layers
Ten layering tips for stylists and apprentices: guide lengths, sectioning, elevation, tension, travelling guides and cross-checks, plus when to thin.
Top 10 Point Cutting Tips for Softer, Cleaner Ends
Ten point cutting tips for stylists and apprentices: when to use it, how deep to snip, how to hold the scissors and how to check the finish dry.