Top 10 Layering Tips for Cleaner, More Even Layers
Ten layering tips for stylists and apprentices: guide lengths, sectioning, elevation, tension, travelling guides and cross-checks, plus when to thin.
By SalonScissors editorial team Updated
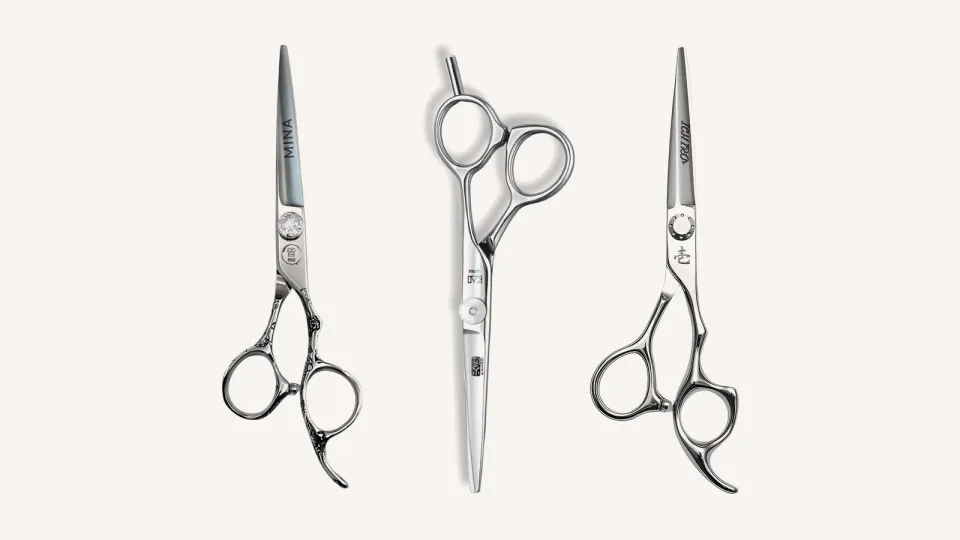
Clean layers come from three habits: a guide length you trust, sections of even size and the same tension on every pass. These ten tips put them in the order you meet them in a cut.
How we chose: Ten tips ordered as they come up in a cut. We sell scissors and haven’t run cutting tests. Reviewed 4 November 2026.
More on how we chose
1. Decide where the shortest layer sits
Ask the client to show you on their own head, with your fingers or a comb. “Layers” can mean a little movement at the ends or a lot of lift through the crown. Agreeing the shortest piece first saves you from a debate halfway through the cut. The plan-and-check guide has the consultation questions.
2. Read the hair before you wet it
Look at curl pattern, density and growth while it’s dry. Curls shrink as they dry, so a layer that looks right wet can sit much shorter once it settles. A cowlick or a strong crown whorl also decides where a short layer can go. Our curly hair tips cover shrinkage.
3. Cut a guide first
Layers are cut against a guide, so the first section is the most important one. Take a small, clean section, cut it to the length you agreed and check it before you build on it. A guide that’s out by a few millimetres gets copied into every section after it.
4. Section cleanly and keep the sections even
Clean partings make clean layers. Use the same section thickness across the head, because a thick section is harder to hold at even tension, and the hair in the middle of it drifts. If a section feels heavy to hold, split it.
5. Choose your elevation on purpose
Elevation is how far you lift the hair from the head before you cut. It decides how much weight stays and how much layering you build.
| Elevation | What it does |
|---|---|
| Low | Keeps more weight near the ends |
| 90 degrees, straight out | Gives the classic even layer |
| Higher | Builds more layering and movement |
Your course’s elevation chart is the reference. What matters in the chair is that you pick the angle, not drift into it.
6. Keep the tension the same
Pulling harder on one section than the next changes the length that springs back. Hold each section with the same light, steady tension, and relax it before you check the length. If you’re stretching hair to reach a length, that’s a sign the section is too big.
7. Bring a travelling guide into every new section
Take a thin slice of the section you’ve just cut, add it to the next one and cut to it. Each new section is then checked against the last, so any drift shows early instead of at the end. Skipping this step is the usual reason layers look steppy.
8. Cross-check from a second direction
Cut in one direction, then check in another: if you cut vertical sections, take a horizontal parting across them and see whether the ends line up. The cross-check shows the uneven spot that the first pass hid. It adds a couple of minutes and saves a re-cut.
9. Match the scissors to the sections
A 5.5” or 6.0” covers most layering, and a longer blade covers more hair on each close. Shorter pairs, around 5.0”, suit face-framing and close detail. Use a thinner only after the layers are cut, to soften weight rather than fix a length. Our compact and long cutters compare the sizes.
10. Check it dry, in their parting
Layers settle when they dry, so shake the hair out, comb it into the parting the client wears and look from the front, side and back. Fix what’s off by taking a little at a time. A touch of point cutting at the ends can soften the finish.
How the tips change with the hair
- Fine hair: keep layers longer and fewer. Short layers through a fine perimeter can leave the ends looking thin.
- Dense, heavy hair: layers do the weight removal for you, so cut your sections smaller and check each one before you move on.
- Long hair: the guide matters even more, because small errors in a long section show as a clear step. A longer blade covers more hair per close.
- Curly hair: cut dry where you can, curl by curl, and allow for shrinkage.
What went wrong? A quick fix table
| What you see | Likely cause | Try this |
|---|---|---|
| A step between two sections | Elevation drifted, or the travelling guide was skipped | Re-cut the later section to a fresh guide at one set elevation |
| Ends longer in the middle of a section | Uneven tension or a section that’s too thick | Split the section and cut at the same light tension |
| Layers look heavy once dry | Too little lift, or curl shrinkage wasn’t allowed for | Check it dry, then lift higher on that area only |
| Ends look ragged | Edge or tension problem, not a layering one | Stop and check the scissors with our dragging guide |
Four layering mistakes to avoid
- Treating the first section as a guess. Check it before you copy it.
- Changing elevation without noticing. Drift shows as a step between sections.
- Thinning to fix a length. A thinner takes out weight. It won’t correct a layer that’s too long.
- Skipping the dry check. Wet hair hides the final length.
Common questions
What’s the difference between layers and graduation?
Both build movement, but graduation stacks weight toward the ends with low elevation, while layers lift more and release weight. Your course’s definitions apply, so check them with your educator.
Should I cut layers wet or dry?
Both are used. Wet gives clean sections and a clear guide, and dry shows how the layers will sit. Check the result dry before you finish.
Which scissors are best for layering?
A comfortable 5.5” or 6.0” cutter does most of it. Our scissors for each haircut matches a size to each cut.
Do I need a thinner for layers?
Only if the hair needs weight taken out once the layers are cut. Many layered cuts never need one.
Next step
Want to compare cutters before you buy? Our 10 best hair cutting scissors pick by hand and budget, and the knowledge base lists more guides. A budget cutter in many sizes:
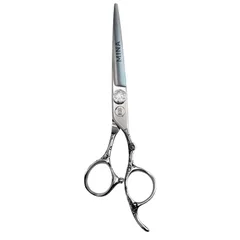
Mina Sakura II Hair Cutting Scissors
Best for a budget cutter in sizes from 5.0” to 7.0”
Comparing scissors for your kit?
Tell us what you cut and which scissors you are comparing.
Useful next reading
Read all blog posts
Top 10 Point Cutting Tips for Softer, Cleaner Ends
Ten point cutting tips for stylists and apprentices: when to use it, how deep to snip, how to hold the scissors and how to check the finish dry.
Top 10 Questions Apprentices Ask About Their Scissors
Ten questions apprentices ask once the scissors are in hand: tension, oil, tired hands, left-handed use, folding hair, sharpening, borrowing and drops.