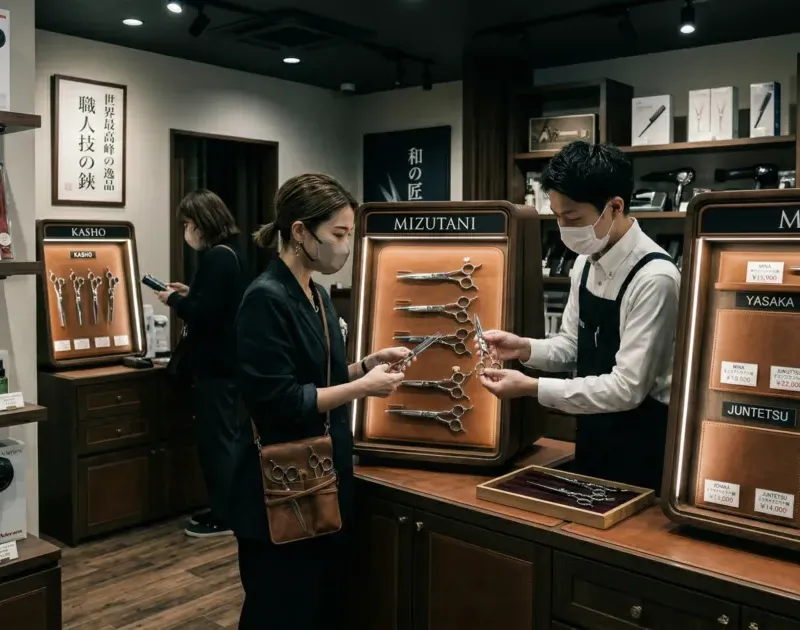
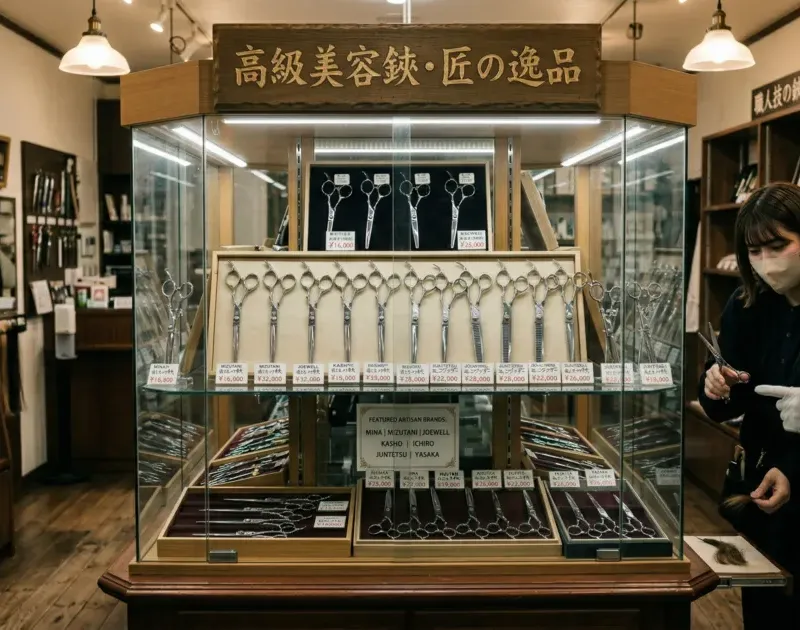
Types of Salon Scissors and When to Use Them
A clear guide to cutters, thinners and texturisers, with blade length and handle choices for salon work.
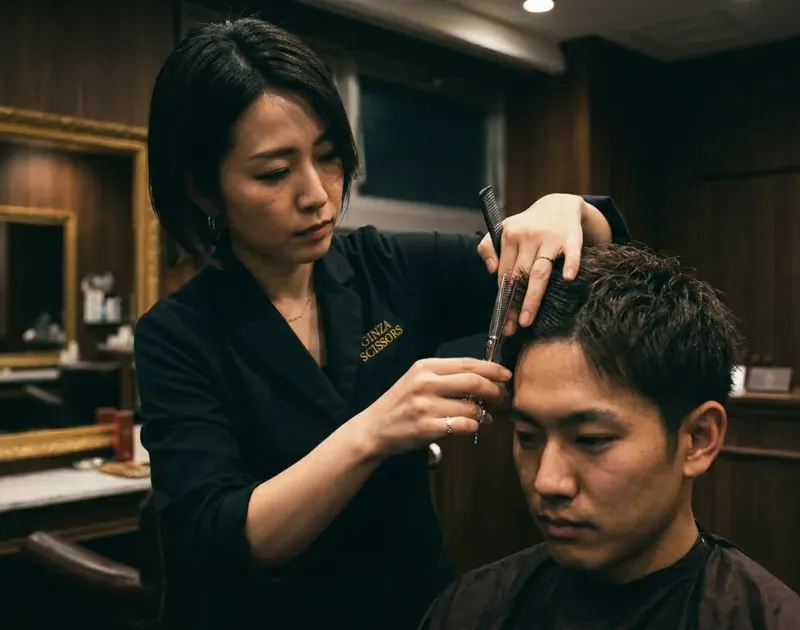
Your kit should cover the cuts you actually do. Start with a cutter for the main shape, then add a toothed shear only when your work calls for a different finish.
Cutters
A cutting scissor sets lines, layers and length. Short blades are easy to place near a fringe or around the ear; longer blades reach across full sections and over a comb. Compare the edge too: a micro-serrated blade helps hold hair, while a smooth convex edge suits drawn cutting strokes.
Thinners and texturisers
A thinner changes density within a shape. Finer tooth patterns are often chosen for soft blending; more open teeth make a stronger, more visible texture effect. Tooth count is a starting point, not a fixed percentage of hair removed. Test a light pass, comb out the hair and look at the dry fall.
Handles and hand
A classic handle has rings close to level. An offset handle puts the thumb ring lower. Swivel handles add movement at one or both rings. Choose the shape you can control with your normal cutting position, and check whether the selected variant is right- or left-handed.
Build a working pair
For many salon stylists, one cutter in a comfortable everyday length and one blending thinner is a useful base. Add a short detail blade or a longer over-comb cutter when the work justifies it. Browse cutting scissors, thinners and sets by the job each tool needs to do.
Notes for your salon kit
Cutting ideas, model comparisons and simple scissor care for busy stylists.