Scissors for Salon Apprentices
Start with a cutter you can control, then build your kit as your techniques grow.
By SalonScissors editorial team Updated

Start with one dependable cutter
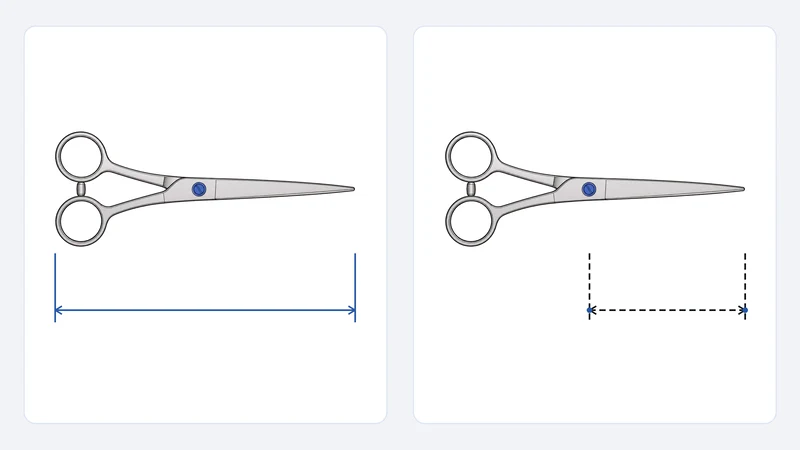
Your first pair should help you practise clean sections, straight lines and controlled point work. Choose a blade length you can place accurately and a handle that feels steady through repeated cuts. A bright finish is a bonus; fit and cutting feel come first.
The under $200 collection is a useful place to compare entry options. Check the current price and size on each product page before you choose.
Build the kit in stages
- Cutter: Start with a comfortable everyday length. Try the opening and closing motion without squeezing.
- Thinner: Add one when blending is part of your training. Check the tooth pattern; a fine blender is different from a wide-tooth texturiser.
- Case and care: Protect the edges between classes and salon shifts. Wipe, dry and store the scissors after use.
- Backup: Once you cut clients regularly, a second cutter keeps you working while the first is serviced.
Mina and Ichiro have single cutters and sets to compare. A set can be good value when you will use both tools; otherwise buy the cutter you need now.
When to upgrade
Move up when you can name what your first pair cannot do: more reach for over-comb work, finer tip control, a different handle, or a dedicated texturising tool. Your technique and service mix should lead the next purchase. See the buyer’s guide for the next step.