Cutting Fringes and Short Layers: Scissor Principles
By SalonScissors editorial team Updated
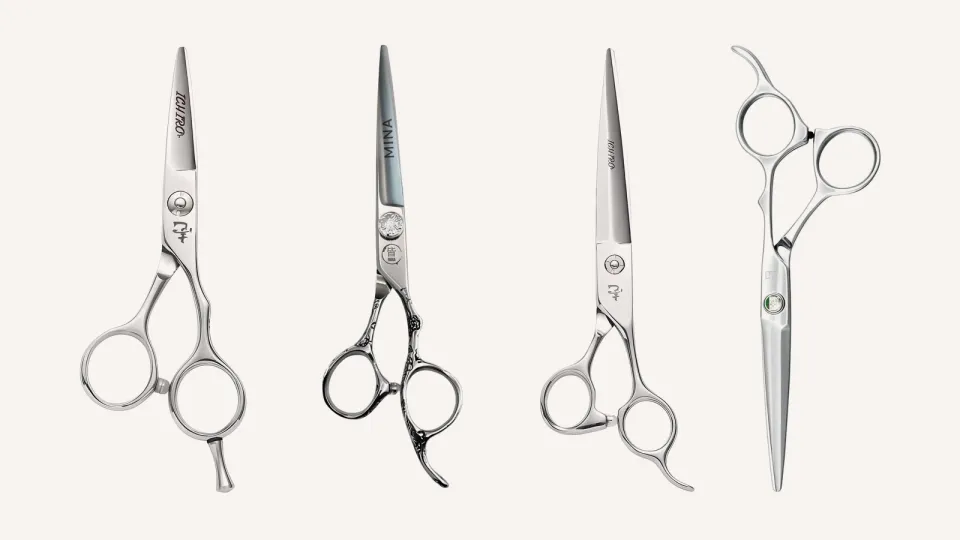
For fringes and short layers, read the growth and parting first, start longer than you think, and cut in small steps while you check. Work with short, controlled closes and a pair whose tips you can see. These are general principles, and fringes near the eyes call for care and good control of the blades.
How we chose: Principles follow general cutting practice. Reviewed 4 November 2026. We sell scissors and haven’t run cutting tests.
How do you cut a fringe?
A fringe sits close to the face and shows every mistake, so work slowly and check often. The steps below suit a basic straight fringe. Curtain and wispy fringes follow the same logic with a different section and line.
-
Read the growth and the parting
Look at how the hair grows at the front hairline, where it parts and whether there’s a cowlick. A fringe that fights its growth will lift or split.
-
Take the section
Part out the fringe section and clip the rest away. Keep the section clean and even, so the line stays predictable.
-
Start longer than the finished length
Cut a first line below the target, comb it down and look. Hair can look different dry, and on a client who moves, so go in steps.
-
Hold the section, keep your fingers between the blades and the face
Hold the section flat between your fingers so the blades never point at the skin. Cut along the line, using small closes.
-
Check the line and soften it
Comb the fringe forward, then to the sides, and look at it the way the client wears it. Soften the edge with point cutting if the plan calls for it.
How do you cut short layers?
Short layers use the same logic as long layers: sections, elevation and a guide length. Because the hair is short, the guide matters more and the margins are smaller. Our layering guide explains elevation in detail.
- Take small sections and keep your guide in view.
- Lift to your chosen angle and hold it steady. A change of a few degrees shows up in a short cut.
- Use the comb to control the hair, and cut along it in short, controlled closes.
- Cross-check in both directions before you finish.
- Check around the ears and nape with a shorter pair, where tip control matters most.
How do you work safely close to the skin?
Work near the face, ears and neck calls for tight control of the tips. A few habits help:
- Keep your fingers between the blades and the skin.
- Keep the tips visible and point them away from the client’s eyes and skin.
- Use short, controlled closes with the blades only as wide as the section needs.
- Support the ear with a finger while you cut around it.
- Never rush. If the client moves, stop cutting.
- Close the scissors when you pause.
What scissors suit fringes and short layers?
A short cutter, 4.5” to 5.5”, gives you the best view of the tips and the most control in tight spots. Fine tips help you see where each close lands, and a smooth close avoids snagging. Your everyday 5.5” or 6.0” pair can handle the rest of the cut. Our scissor length guide shows how each size is used, and our guide to which scissors for which haircut covers fringes and short layers beside other cuts. Browse 5.0” cutters for a short detail pair.
What mistakes should you avoid?
- Cutting to the final length on the first pass. Start long and refine.
- Ignoring the cowlick. A fringe that fights its growth won’t sit.
- Cutting a wet fringe too short. It will lift as it dries. Check it dry.
- Letting the tips point at the face. Hold the section so the blades run away from the skin.
- Over-thinning. A fringe loses its line fast. Keep any thinning light.
- Skipping the check. Look at the fringe from the front and the side, dry, and in the client’s style.
What if the client has a cowlick or a strong parting?
A cowlick or a strong parting changes where a fringe wants to fall. Watch the hair dry, in the way the client wears it, before you decide on the shape. Hair that grows against your planned line will lift or split at the edge, so you may need a longer fringe, a different parting or a curtain shape that works with the growth.
When in doubt, cut longer and let the client see it. Tell them what you’ve noticed and what you’d suggest, and you’ll get a better answer than guessing. Our plan and check a haircut guide covers the consultation questions.
Common questions
Should I cut a fringe wet or dry?
Both are used. A damp or dry fringe shows how it will fall, and wet hair is easier to section. Many stylists start long and check dry. See our wet and dry cutting guide.
What size scissors are best for fringes?
A short cutter, 4.5” to 5.5”, with fine tips. You’re working close to the face, so tip control matters more than reach.
How do I stop a fringe looking too blunt?
Soften the line with light point cutting once the length is right. Start shallow and check after each pass.
Do I need a separate pair for short layers?
Not necessarily. Your everyday cutter covers most of it, and a short pair helps around the ears and nape.
Next step
Practise sections and guides on a mannequin with a short pair, and compare how the same section looks cut wet and dry. Our apprentice cutting checklist gives you a page to log it.
Further reading
For definitions of cutting terms, Scissorpedia is a reference site about hair scissors. Scissorpedia is a fellow member of the ShearAlliance (see ShearAlliance). More topics are in the knowledge base.