Point Cutting With Scissors, Step by Step
By SalonScissors editorial team Updated
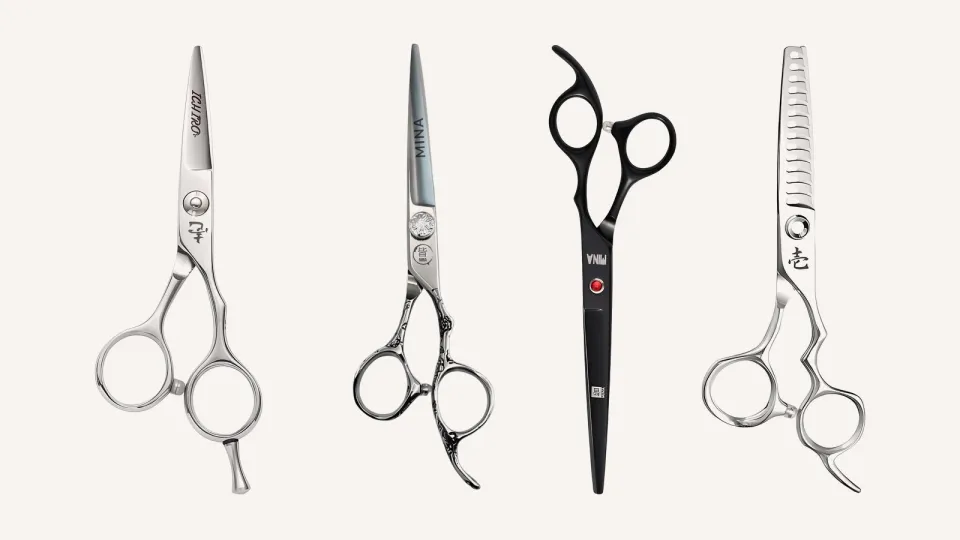
Point cutting means snipping small notches into the ends of a section with the tips of your scissors, so a hard line breaks up or a heavy end softens. You control the result with three things: how deep the tips go, the angle of the scissors, and how much hair you hold.
How we chose: Steps follow standard cutting practice and Joewell’s cutting guide. Reviewed 4 November 2026. We sell scissors and haven’t run cutting tests.
What is point cutting, and when do you use it?
Point cutting is a texturising technique done with a cutter, not a thinner. You turn the scissors so the tips enter the hair at an angle, and each closure removes a small, uneven piece from the ends. The line stays roughly where it was, but it stops looking ruled.
Stylists reach for it on three jobs: softening a blunt bob or a fringe, taking the heaviness off the ends of a layer, and blending a transition so it doesn’t show as a stripe. It is a finishing move. The shape and length come first, and point cutting changes how the edge reads.
It isn’t a substitute for a thinner when a section is bulky. If the problem is weight inside the hair rather than a hard edge, our guide to texturising and thinning by hair type covers the right tool.
How do you point cut, step by step?
Work on a small section, and make the first pass shallower than you think you need. You can always add more texture. You can’t put it back.
-
Cut the shape first
Finish the length and line you want before any texturising. Point cutting a shape that isn’t settled just hides the problem.
-
Take a small, clean section
Comb it smooth and hold it between two fingers, with light, even tension. A fat section moves under the blades and the notches come out uneven.
-
Present the ends to the tips
Hold the section so the ends point toward you, or lift it away from the head at the angle the cut calls for. Keep your fingers well clear of the closing blades.
-
Angle the scissors into the ends
Turn the blades so they run roughly in the direction of the hair, with the tips entering the ends. A steeper angle takes a more visible bite; a flatter one is subtler.
-
Snip shallow, then step along
Open the tips only a little and close in small, controlled snips, moving across the section in a varied rhythm. Don’t repeat the same depth at the same spacing, or you’ll cut a pattern.
-
Comb through, check, then decide
Comb the section and look at the edge in its natural fall. If it still reads hard, go back in a touch deeper, one pass at a time.
How deep and how steep? The two dials
Depth and angle are the two settings that matter. Depth is how far the tips travel into the hair before they close. Angle is how steeply the blades meet the section.
| Setting | Shallow, flatter angle | Deeper, steeper angle |
|---|---|---|
| Edge result | Soft, barely visible break | Visibly broken, chunkier ends |
| Good for | Fine hair, blunt bobs, fringes | Thicker hair, heavy ends, grown-out lines |
| Risk | Seems to do nothing | Ends look chewed or thin |
On fine hair, stay at the shallow end. On thick, dense hair you can go deeper, as long as you check each pass before the next. Start two or three finger-widths from the ends if you are unsure, and work down.
What goes wrong, and how do you avoid it?
- Going deep on the first pass. Start shallow and build. A deep notch can’t be undone without cutting length.
- Cutting the same pattern every time. Even spacing and equal depth give a zigzag or a comb-tooth look. Vary both.
- Using the heel of the blade. The tips do the work here. Heel closures take a big, blunt bite.
- A section that’s too big. Hair slides out of the way, so the notches land randomly and the finish looks patchy.
- Texturising a shape that isn’t finished. Cut the line first, then soften it.
- Forcing hair that pushes or folds. That points at the edge or the tension, not your technique. Our guide to dull-feeling scissors walks through the check.
What should you look for in scissors for point cutting?
Fine, visible tips and a smooth close matter more than anything else. Joewell’s point-cutting guide suggests symmetric handles, because the scissors are held upright for this move, and singles out blades with a vertical curve. Offset pairs point cut well too, so go by what’s comfortable in your hand.
-
Straight
Both rings sit level, the classic layout. Thumb and finger rings are the same distance from the pivot.
-
Offset
The thumb branch is shorter, so the thumb ring sits closer to the pivot. Most cutters we sell are offset.
-
Crane
A sharper offset. The thumb branch bends, which changes the angle your hand holds the blades at.
A 5.0” or 5.5” cutter gives you the best view of the tips near a fringe, and a 5.5” to 6.0” pair covers longer sections. Our scissor length guide goes through each size. If your everyday cutter already places its tips well, there’s no need to buy anything new for point cutting.
Common questions
Is point cutting the same as chipping or notching?
They describe closely related moves, and teachers use the words differently. In all of them the tips of the scissors enter the ends of a section and remove small pieces. The depth and angle you choose decide how the end looks.
Can I point cut with thinning scissors?
You can soften ends with a thinner, but that is a different technique, and a thinner removes hair from across the section. Point cutting is done with the tips of a cutter, so you decide the position of each notch.
Should I point cut wet or dry hair?
Both are used. Wet hair is easy to hold and section; dry hair shows you how the ends really fall. Many stylists texturise on dry hair so they can judge the finish as it will be worn. See our guide to wet and dry cutting.
Does point cutting suit curly hair?
It can, with care. Curl pattern and shrinkage change how ends settle, so go shallow and judge each curl dry. Our curly and coily hair guide covers the principles.
Next step
Practising the move? Work on a mannequin or a small section, change one thing per pass (depth or angle) and note what happened. Our apprentice cutting checklist has a practice page. Choosing a pair for it? See the 5.0” cutters, or read the slide cutting guide for the next move to learn.
Further reading
For definitions of the terms used here, Scissorpedia is a reference site about hair scissors. Scissorpedia is a fellow member of the ShearAlliance (see ShearAlliance). More topics are in the knowledge base.