Top 10 Slide Cutting Tips for Softer, Lighter Lines
Ten slide cutting tips for stylists and apprentices: what it does, light sections, where to start, one smooth stroke and what to do when your scissors catch.
By SalonScissors editorial team Updated
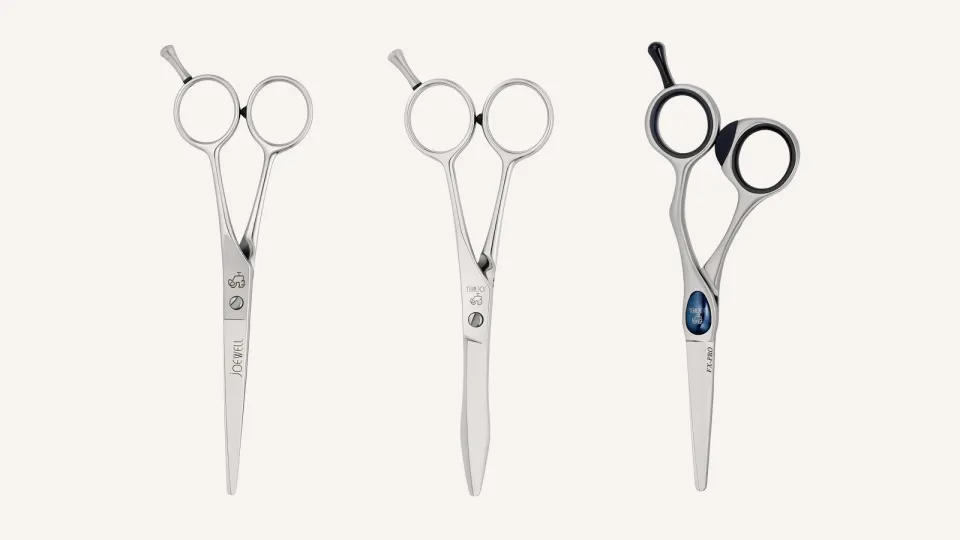
Slide cutting glides open blades along a section so the edge slices instead of closing across. These ten tips cover when to use it, how light to go, where to start and what to do when the scissors catch.
How we chose: Ten tips ordered as they come up in a cut. We sell scissors and haven’t run cutting tests. Reviewed 5 November 2026.
More on how we chose
The tips follow standard cutting practice and Joewell’s slide-cut guide, ordered as they come up in a cut. Methods vary between educators, so follow your course where it differs.
Who it’s for
- Salon
- Barber
- Apprentice
1. Know what slide cutting is for
Slide cutting tapers and softens a section and takes weight out without shortening it. Some teachers call it slicing or stroke cutting. Our slide cutting step-by-step guide covers the full method.
| Job | Reach for |
|---|---|
| Set the length and outline | A blunt cut |
| Soften a heavy, hard end | Slide cutting |
| Break up the ends with the tips | Point cutting |
| Remove weight with teeth | A thinner, after the outline |
2. Cut the shape first
Set the length and outline with your usual technique, then slide. A slide refines a shape, and it can’t fix a line that’s wrong. If the outline is uneven, go back to a blunt cutting pass first.
3. Check that your scissors can slide
A slide needs an edge that glides rather than grips. A micro-serrated edge grips on purpose, which helps a blunt line and works against a slide. A convex edge is a common starting point, but what the maker says the model is for matters more.
Joewell’s slide-cut guide points to its bamboo-leaf series for this technique. Our edge guide explains each edge name.
4. Take a light section
Comb a small section smooth and hold it with gentle tension. A big, tight section is where slide cuts go wrong, because the blades drag. If the section feels like a fist, split it.
5. Start at mid-length, not at the root
Begin at mid-length or lower. Starting too near the root takes more out than you meant.
6. Lay the open blades along the hair
Open the blades part way and rest them nearly parallel to the section, with the tips pointing toward the ends. The flatter the angle, the gentler the cut. Keep your fingers clear of the blades and the tips away from the skin.
7. Glide in one continuous stroke
Move the blades down the section in one smooth motion, closing slightly as you travel. Keep the pace even, because a hesitation leaves a mark. Don’t push through hair that’s folding.
8. Take a little, then check
Each stroke takes a little out. Comb through and look at the section in its natural fall before you repeat. If you want more softness, make another light stroke instead of pressing harder.
9. Adjust for the hair
Hair type changes how much you take and where you start. The method stays the same.
| Hair | What to do |
|---|---|
| Fine | A flat angle and one light stroke, then check |
| Medium | Two light strokes through the lengths usually soften a heavy line |
| Thick or dense | More, smaller sections, each light enough to hold gently |
| Wavy and curly | Judge each pass on dry hair, because curl can pull the length up |
Our curly and coily hair guide covers the principles for textured hair.
10. Stop when the scissors catch
A catch means the edge or the tension needs attention. Clean the blades, check that the pivot moves freely and look at the tension. If a clean, adjusted pair still catches, it’s an edge problem and the pair needs a service before it goes back to work.
Our guide to scissors that fold or drag hair lists the checks, and the maker care instructions say how each brand sets tension.
Five slide cutting mistakes to watch for
- Cutting with the whole section in a fist. Split it and take less.
- Starting too near the root. Begin at mid-length.
- Pushing through a catch. Stop and check the blades.
- Too many passes. Check between strokes.
- Using a grippy edge. Save a micro-serrated pair for blunt lines and over-comb work.
A simple way to practise
-
Cut a blunt outline
Cut the outline and check it’s level before you do anything else.
-
Slide three sections
Use one light stroke on the first section, two on the second and three on the third, with the same angle each time.
-
Compare and note it
Comb through, look at the three side by side and write down which stroke count gave the softness you wanted.
Common questions
Can I slide cut with any scissors?
Not equally well. A smooth, sharp edge on a well-adjusted pair can slide, but a grippy edge or a loose pivot catches the hair. Check what the maker says the model is for.
Should I slide cut wet or dry hair?
Both are used. Wet hair is easy to control, and dry hair shows the real result. Our wet and dry cutting guide compares them.
How is it different from point cutting?
Point cutting snips into the ends with the tips, and slide cutting glides the open blade along the section. See the point cutting tips for the other move.
Next step
If a slide feels rough on your current pair, check the edge and tension before you buy anything. If you want a pair made for it, here’s one whose listing describes a curved slide-cutting blade.
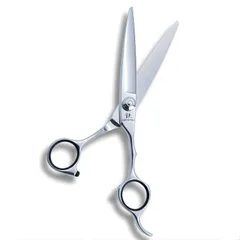
Juntetsu Cobalt Vertex Slide Haircutting Scissor
Best for a curved slide-cutting blade, as listed
Further reading
Our guide to scissors for each technique matches pairs to the moves, the blunt cutting tips cover the line you slide from, and the knowledge base lists more. Scissorpedia is a reference website on scissors. SalonScissors is part of the ShearAlliance, working with other trusted scissor websites.
Comparing scissors for your kit?
Tell us what you cut and which scissors you are comparing.
Useful next reading
Read all blog posts
Top 10 Blunt Cutting Tips for Cleaner, Solid Lines
Ten blunt cutting tips for stylists and apprentices: clean sections, even tension, a steady close, wet versus dry length and how to cross-check the line.
Top 10 Layering Tips for Cleaner, More Even Layers
Ten layering tips for stylists and apprentices: guide lengths, sectioning, elevation, tension, travelling guides and cross-checks, plus when to thin.