Top 10 Things to Look For in Your First Hair Scissors
Ten things to check on a first pair of hair scissors: your kit list, hand, size, ring fit, handle, edge, steel, tension, seller and the budget for care.
By SalonScissors editorial team Updated
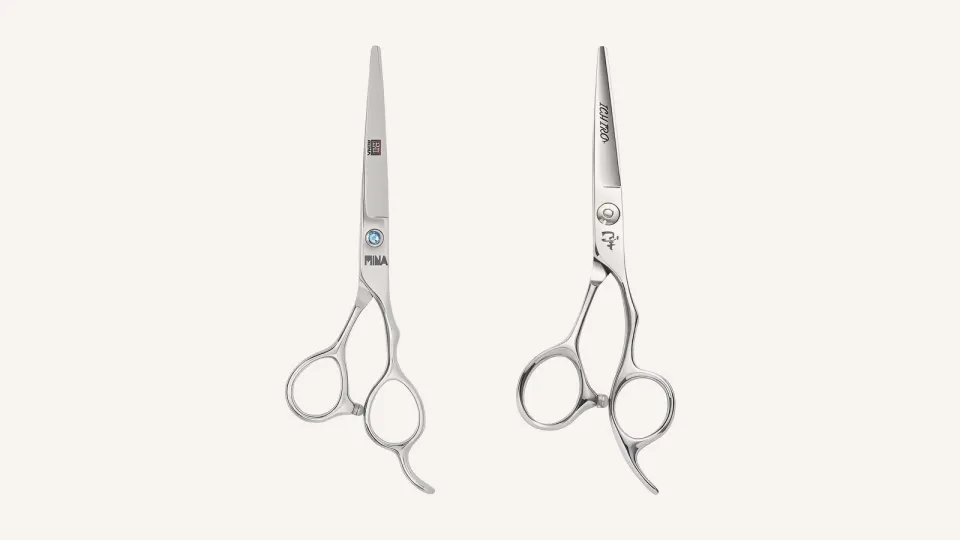
Start with a pair that meets your course’s kit list, suits your cutting hand and fits your fingers. Everything else on a listing can wait. Here are the ten things worth checking, in the order they matter.
How we chose: Ten checks for a first pair, from our listings and maker pages. We sell the two pairs shown and haven’t run cutting tests. Reviewed 4 November 2026.
More on how we chose
1. Your course or salon kit list
Check what your course asks for before anything else. Some kit lists name a size, a hand or a handle, and some name a brand. If a list is vague, ask your educator which parts are required and which are suggestions. Our apprentice picks start from the kit.
2. Your cutting hand
Look for a true left-handed pair if you cut left-handed, which means the blades are reversed as well as the handle. A right-handed pair held in the left hand stays right-handed. Check the hand in the listing or the selector, and ask if it isn’t stated. See our left-handed guide.
3. The size
A 5.5” is a sensible start if you aren’t sure, because it’s easy to place and covers most sections. A 5.0” suits fringes and close detail, and 6.0” or longer reaches more hair on each close. The inch size is the whole scissor, not the blade, so use our size guide to compare.
- Overall length: the inch size
- Blade length: pivot to tip
4. The ring fit
Your fingers should sit comfortably in the rings without gripping to keep the pair from slipping. A ring that’s too big makes you squeeze, and a finger insert can shrink it. Check whether inserts come with the pair. A pair that fits you in the first week is worth more than one with a better steel name.
5. The handle layout
Straight handles have level rings, offset handles put the thumb ring closer to the pivot, and crane handles bend further. Most cutters we sell are offset. None of them is a treatment for sore hands, so choose the one that feels natural and give it time. Our handle guide draws all three.
6. A plain, readable edge description
You don’t need to decode every term. A first pair should say its edge in words you can read, such as convex or bevelled, and whether it’s micro-serrated. A convex edge doesn’t guarantee a slide on every texture, so don’t pay extra for a word. Our blades guide explains what each term means.
7. A steel name in context
A listed steel such as 440C is a proven scissor steel, not just a beginner grade, and it hardens to about 60 HRC. Our 440C guide says the maker’s heat treatment and grind matter more than the grade name. Treat steel as a tiebreaker once the fit is right.
8. A tension you can adjust and a care sheet
Check that the pair has a tension adjuster you can reach, and that the maker gives care instructions. Your first weeks are when you learn what normal feels like, and a care sheet tells you what to do about it. Find our maker care instructions for the brands we list.
9. A seller with clear terms
Look at who you’re buying from: clear contact details, delivery costs, a returns policy and whether a pair has to be unused to be returned. Read the returns page before you pay, ours or anyone else’s. The arrival inspection tells you what to check when the pair lands.
10. A budget for care
Add the care kit, a case and the cost of a service to the shopping list. A cloth, a brush and oil keep the pair working, and a backup becomes useful once you rely on it. Our first-pair buying mistakes covers what people forget.
How the checks change by reader
| If you’re | Put these first | Then |
|---|---|---|
| A hairdressing apprentice | Kit list, size, ring fit | Handle, care kit |
| A barber apprentice | Kit list, a longer size for scissor-over-comb, ring fit | Hand, a short pair for detail |
| Left-handed | Hand (a true left-handed pair), size | Handle, ring fit |
| Buying for a salon team | Hand and size for each person | Care kit, backups |
Barbers usually add a longer pair, around 6.5” to 7.0”, for work over the comb, and keep a shorter pair for detail. Our barber scissors guide covers the full kit.
A two-minute check before you pay
- Does the listing show the hand and size you need, in the selector?
- Does the photo show the handle layout you expect?
- Are the care sheet and returns terms easy to find?
- Is there a care kit or case in the basket, or on the list for later?
If any answer is “not sure”, ask us with the product link before you order.
What can wait
| Leave it for now | Because |
|---|---|
| A thinner or a set | A cutter does the outline, and you can add a thinner when a cut needs it |
| Premium steel | Fit and care matter more in your first year |
| A second size | Start with one size you use most |
Common questions
How much should a first pair cost?
Enough to meet your kit list and fit you, and no more. Our under A$200 list shows what’s available at the lower end, and the upgrade playbook says when to spend more.
Should I buy a set?
Only if your course asks for one or you already know you need a thinner. Otherwise start with the cutter.
Can I return a pair that doesn’t fit?
Change-of-mind returns need an unused pair, so check the hand, size and handle before you order. The returns page has the terms.
Next step
Narrow the choice by hand, size and budget with our scissor finder. More guides are in the knowledge base. A care kit to go with the pair:
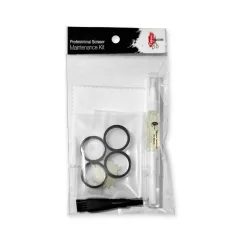
Maintenance Kit: Clean, Oil & Fix Hair Scissors
Best for a first care kit: cloth, brush and oil
Comparing scissors for your kit?
Tell us what you cut and which scissors you are comparing.
Useful next reading
Read all blog posts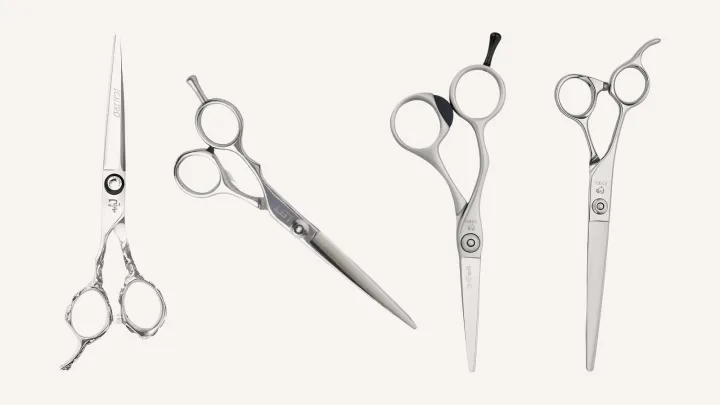
Left-Handed Hair Scissors by Size: One Pick Per Length
Choose left-handed hair scissors by size: one true left-handed cutter for each length from 4.5 to 7.5 inches, with what each size suits and the trade-off.
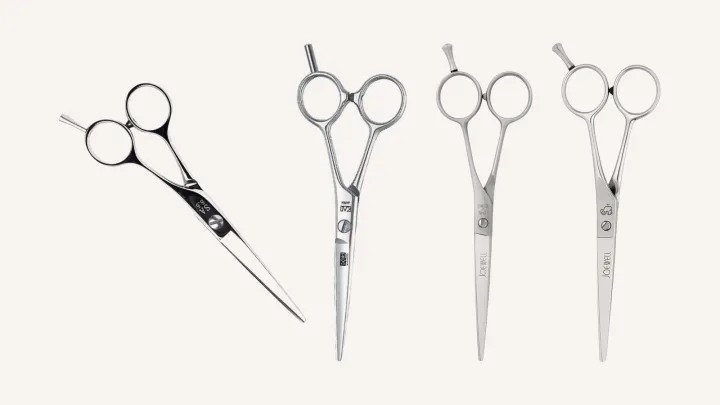
Top 10 Straight Handle Hair Scissors: Level-Ring Cutters
Ten straight handle hair cutters with level rings, from a budget Mina to Joewell Classic: sizes, hand, edge and one trade-off for each, cheapest first.