Apprentice and TAFE Scissor Kit: Buy First, Buy Later
By SalonScissors editorial team Updated
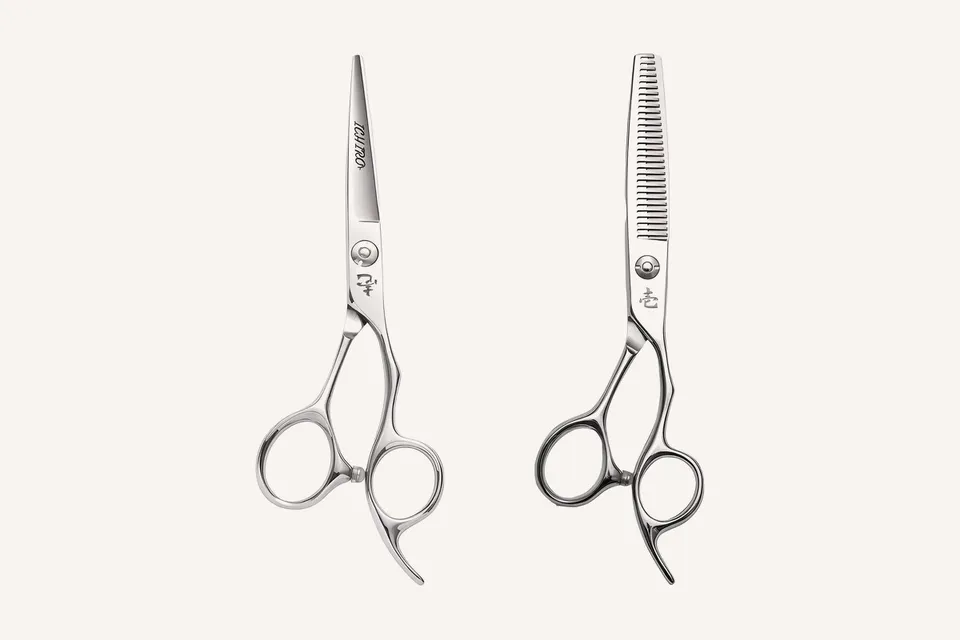
Buy one cutter in the right hand first, plus a way to carry and care for it, and then wait for your instructor to say what comes next. A thinner, a second cutter and anything premium can follow once you know what your course needs and which jobs you keep reaching for.
How we chose: Priorities follow common course kit practice and our apprentice guides. Reviewed 4 November 2026. We sell the scissors shown and haven’t run cutting tests.
Who it’s for
- Apprentice
- Left-handed
Skip it if your course supplies a full kit
What do you buy first?
Start with the tool you’ll hold every day, and the two things that keep it working.
- A cutter. One scissor in your cutting hand. Many starters choose 5.5” because it’s long enough for most cuts and short enough to control. Fit matters more than the name on the blade.
- A case, sleeve or holster. The edges are the most delicate part of a scissor. Loose scissors in a bag get knocked.
- A basic care kit. A soft cloth, a small brush and oil if your maker says to use it. Our salon-day care routine shows how little time it takes.
Your course may add combs, clips and a mannequin, but they belong on the course list and don’t need a scissors budget.
What should you buy when the course asks?
Many courses introduce blending part-way through, and some ask for a thinner on day one. When your teacher names one, a 30-tooth blender is the usual choice. It softens lines and takes small amounts of hair out. See our thinning and texturising guide for how to use it.
Some brands sell a cutter and a thinner together as a set. A set can be good value if you need both, but check that the hand, sizes and tooth count match what your course wants. Our apprentice scissors guide compares first pairs and sets from our range.
-
1. Day one
Your cutter
The hand you cut with, in 5.5” unless you’ve been told otherwise.
Compare cutters -
2. When blending starts
A thinner
A 30-tooth blender, like the one in both starter sets.
See thinner picks -
3. On the floor
Case, care and a backup
A case and care kit from day one. A second cutter once you’re cutting clients.
Daily care routine
What can wait?
| Wait on | Why |
|---|---|
| A second cutter | One pair covers most course work. Add one when a job keeps fighting you. |
| A texturiser or chunker | Open-toothed tools are specialist. Learn the blender first. |
| Premium steel names | Steel is one part of a scissor. Fit and a clean edge matter more at the start. |
| A backup pair | Useful once you cut clients. Our backup scissors guide explains when. |
| Coloured finishes | They are cosmetic, and you can choose them later. |
| A multi-piece case or wallet | Start with one safe slot. Upgrade as the kit grows. |
What should you ask before you buy?
A few questions save a wasted purchase:
- Does the course supply a kit or a required list? If it lists specific items, buy those first.
- Which hand do I cut with? Left-handed apprentices need a true left-handed pair. See our guide for left-handed stylists.
- What size and handle do others use? Ask your teacher what suits your hand, and ask to see what classmates use.
- Is a thinner needed this term? If not, wait.
- What does the seller offer for returns? Read our returns page before you buy.
What mistakes do apprentices make?
- Buying a set you don’t need yet. Our first-scissor buying mistakes covers it.
- Buying the wrong hand. A right-handed pair held in the left hand is still a right-handed pair.
- Skipping care. A wipe and a dry cloth cost little and protect the edge.
- Buying on steel names. Our first-use fit check gives a better test: how the pair feels in your hand.
- Practising on the wrong things. Cut hair, not paper or thick material, with your scissors, and use a mannequin for practice.
How should you stage the spend?
Spread the cost over the course instead of buying everything at once. A simple order works for most apprentices:
- Now: the cutter, a case and a care kit.
- When the course introduces blending: the thinner.
- When you start cutting clients: a second cutter or a backup pair, and a case that holds both.
- Later: specialist tools, such as a texturiser or a long pair for scissor-over-comb.
Each stage lets you learn what you actually use before you buy the next thing. Our pricing guide shows how the price bands work, and our scissor finder narrows a first pair by hand, length and budget.
Common questions
What size scissors should an apprentice buy?
Many starters choose 5.5” because it handles most cuts and stays controllable. Your course may suggest a size, so check the kit list. See our scissor length guide for how each size is used.
Do I need thinning scissors as a first-year apprentice?
Only when your course or salon asks for one. A single cutter covers most early work, and a 30-tooth blender is the usual first thinner.
Should apprentices buy expensive scissors?
Not necessarily. A comfortable, well-fitting pair with a clean edge is a good start. Spend more once you know your hand, your cuts and how you work.
Do TAFE courses require a specific scissor brand?
Requirements vary by course and provider, so read your own kit list or ask your teacher. Don’t buy until you have seen it.
Next step
Ready to choose a first pair? Read our guide to the best scissors for apprentices, browse sets and kits, or use the scissor finder.
Further reading
For a reference on scissor terms, Scissorpedia is an information site about hair scissors. Scissorpedia is a fellow member of the ShearAlliance (see ShearAlliance). More topics are in the knowledge base.